
Tackling a job that involves both a confined space and working at heights isn't just a matter of dealing with two separate hazards. It's a whole new ball game. These two risks have a nasty habit of multiplying each other, where a small slip-up can escalate into a major incident in a heartbeat.
Why The Danger Multiplies When Risks Combine
When you mix confined spaces with heights, the standard safety playbook for each individual task often falls short. The risks don't simply add together; they interact in dangerous ways, creating a situation where a minor mistake can have catastrophic consequences.
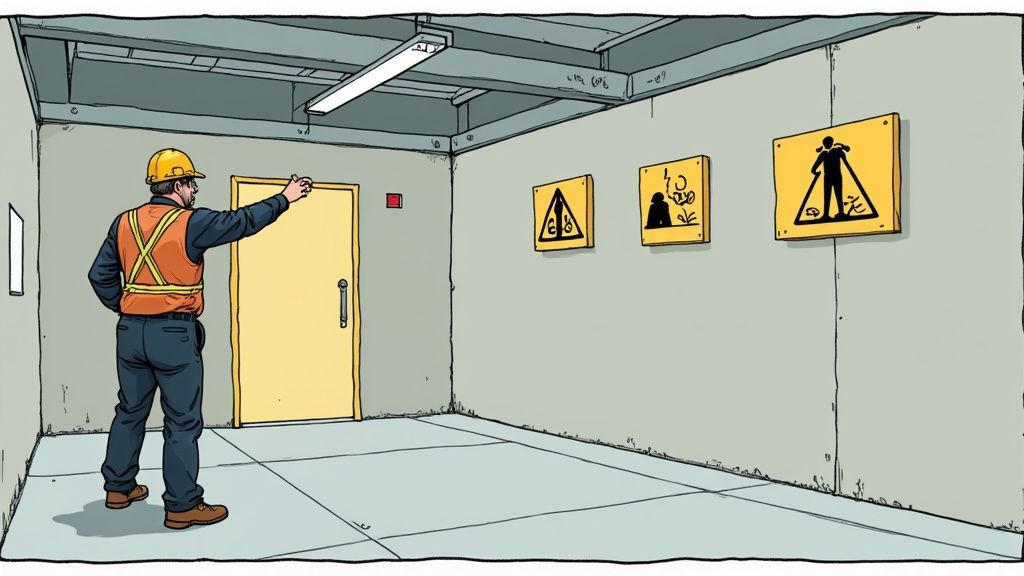
Picture this: a worker needs to get into a large industrial silo through a hatch at the top. On the outside, it's a standard working at heights job, complete with fall protection. But the moment they pass through that hatch, they're in a confined space.
This is where it gets complicated. A simple trip hazard inside the silo, which might normally be a minor issue, could cause the worker to fall against their fall arrest system. Now, instead of a straightforward self-rescue, they could be suspended inside an enclosure with poor air quality and extremely limited access for the rescue team.
The Practical Reality of Compounded Hazards
In factories, plants, and on construction sites, these combined-risk scenarios are more common than you'd think. Think about tasks like inspecting the inside of a large tank, doing maintenance on machinery from above, or climbing down a ladder into a subterranean pit. The real danger lies in how these hazards feed off each other.
- Atmospheric Hazards & Falls: If the air inside a space is low on oxygen or contains toxic gases, a worker can quickly become dizzy, disoriented, or even lose consciousness. When you're working at height, even a moment of dizziness dramatically increases the chance of a fall.
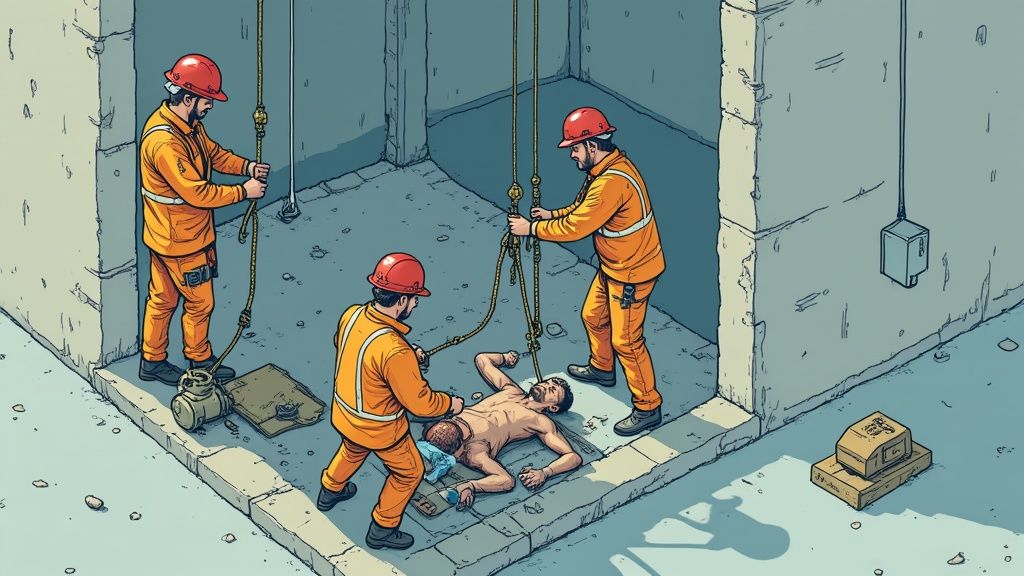
- Rescue Becomes a Nightmare: A worker who has a medical emergency or falls and is left suspended in their harness is already on the clock. If this happens inside a confined space, getting them out becomes exponentially harder. Rescuers have to manage their own height safety while trying to get through a tight opening, possibly into a hazardous atmosphere themselves.
- Physical and Environmental Strain: The physical effort of climbing and working at height is tough enough. Add the conditions of a confined space, like scorching heat or poor lighting, and you've got a recipe for fatigue. Fatigue leads to poor decisions and critical mistakes.
Getting your head around these compounded risks is the first, most crucial step. It’s what turns safety planning from a box-ticking chore into a practical, life-saving strategy.
When your crew truly understands why the rules are so strict for jobs involving confined spaces and working at heights, the procedures stop being just rules. They become meaningful actions designed to prevent a very real, very dangerous outcome.
A Practical Approach to Hazard Identification
Before any work kicks off that involves both a confined space and working at heights, a thorough hazard identification process isn't just best practice, it's non-negotiable. This is much more than a box-ticking exercise. It’s about methodically digging into every potential problem that could put your crew in harm's way, moving from the obvious dangers to the hidden ones that often cause the most serious incidents.
The aim here is to build a complete, detailed picture of the job's risks. This documented record becomes the very backbone of the permit to work and needs to be communicated clearly to every single person on the job, from the entrant to the standby person. Everyone must know exactly what they’re up against before they even think about starting.
Starting with Structural and Access Integrity
Your first port of call should always be the path the worker will take. When height is part of the equation, the access point becomes a critical failure point. Don't just give it a quick glance; you need to get hands-on.
Let's say entry is via a fixed ladder leading to a tank hatch. This needs a proper inspection. Check every single rung for corrosion or damage. Give the ladder a good pull and push to test its stability and make sure it’s fastened securely. Scan the area around the hatch for slip or trip hazards like oil residue, loose tools, or other debris.
A common mistake I see is people assuming that because a ladder or platform is a permanent fixture, it must be safe. Structures corrode, bolts work themselves loose, and previous crews might have left the area in a dangerous state. Never, ever take structural integrity for granted.
This initial check also covers the entry point itself. Is the hatch cover too heavy for one person to safely lift and manage at height? Is there a mechanism to lock it open, or could it slam shut unexpectedly? These are the practical, real-world questions you have to answer before anyone gets near it.
Uncovering Atmospheric and Physical Dangers
Once you're confident the access is sound, your focus has to shift to the dangers lurking inside the confined space. This is where you'll find many of the most serious risks, and frustratingly, they're often invisible. Atmospheric testing isn't just a suggestion; it's a life-saving step.
A huge number of incidents are caused by what you can't see, smell, or taste. For example, Safe Work Australia data showed 59 deaths related to confined space work between 2000 and 2012. The vast majority of these tragedies were due to atmospheric hazards like toxic gases or a lack of oxygen.
Here’s a practical breakdown of what to hunt for:
- Atmospheric Hazards: The air must be tested before anyone enters. Use a properly calibrated gas detector and remember to test at different levels, some gases are heavier than air and will sink, while others are lighter and will rise. You’re checking for oxygen deficiency (below 19.5%) or enrichment (above 23.5%), flammable gases, and any toxic contaminants specific to that space, like hydrogen sulphide in a sewer or carbon monoxide from a nearby generator.
- Physical Hazards: Inside the space, look for unguarded machinery with moving parts that could start up. Identify every electrical source, from wiring to lighting, and confirm they are properly isolated and locked out. You also need to be acutely aware of engulfment risks from materials like grain, sand, chemicals, or other liquids.
- Environmental Factors: Never underestimate the impact of extreme temperatures, poor lighting, or excessive noise. These elements dramatically increase fatigue and stress, making mistakes far more likely, especially when you’re trying to perform a complex task at height inside a cramped space.
Documenting and Communicating Your Findings
Spotting the hazards is only half the job. Every risk you identify has to be formally documented. This process is a core part of any robust safety framework. To see how this fits into the bigger picture, you can read about the 9 key elements of a Health and Safety Management System.
A simple, well-designed checklist is an incredibly effective tool for making sure nothing gets missed during your hazard identification. It gives you a structured way to inspect the area and, just as importantly, creates a clear, permanent record.
Here’s a practical checklist to guide the identification of common hazards when you're dealing with both confined spaces and heights.
Hazard Identification Checklist
| Hazard Category | Specific Risks to Check | Control Measure Example |
|---|---|---|
| Access & Egress | Corrosion on ladders, loose handrails, unstable platforms, obstructions around entry point. | Prohibit use of the ladder and arrange for a mobile elevating work platform (MEWP) for access. |
| Atmospheric | Oxygen levels below 19.5% or above 23.5%, flammable gas presence, toxic airborne contaminants. | Implement continuous mechanical ventilation and require workers to wear personal gas monitors. |
| Physical | Exposed electrical wiring, unguarded moving parts, risk of falling objects, engulfment potential. | Use lock-out/tag-out (LOTO) procedures on all energy sources before entry. |
| Environmental | Extreme heat or cold, poor visibility, high noise levels, slippery surfaces inside the space. | Schedule work during cooler parts of the day and provide additional portable lighting. |
By documenting these points, you create a clear action plan. This record becomes the foundation for all the control measures you'll put in place, ensuring the job gets done safely. It's the first, and most critical, step in preventing a disaster when you're up against the combined dangers of a confined space and working at heights.
Putting the Permit to Work System into Action
A Permit to Work (PTW) system is much more than a box-ticking exercise. I’ve seen sites treat it like just another bit of paper to file away, but that completely misses the point. Think of it as the formal, written script for a high-stakes performance.
For a job combining confined space entry and working at heights, the permit becomes the single source of truth. It’s the playbook everyone on the job follows to the letter, defining the task, calling out the specific dangers, and dictating the exact safety controls needed. Without it, you're relying on memory and assumptions. With it, you have a documented, accountable plan.
Clarifying Roles in the Permit Workflow
Where do these systems often fall over? Confusion over who's meant to do what. A solid permit process removes all ambiguity by assigning clear, distinct duties. The whole system hinges on everyone knowing their part and playing it perfectly.
- The Issuer: This is usually a senior site manager or engineer with the final say. They have the authority to authorise the high-risk work after reviewing the risk assessment and control plan. When they sign that permit, they’re formally declaring that the plan is sound and the job can go ahead safely.
- The Supervisor: This is the person on the ground, responsible for making the permit happen. They make sure the controls are implemented, the work area is correctly set up, and the team has the right gear and knowledge to stick to the plan.
- The Entrant: This is the person actually doing the work, the one entering the confined space or working at height. Their job is to follow every instruction on that permit, use their equipment correctly, and keep the lines of communication open at all times.
- The Standby Person: Positioned just outside the confined space, this person has one job and one job only: to monitor the entrant and the conditions. They are the dedicated safety watch, the critical communication link, and the first line of defense in an emergency.
This clear division of labor is non-negotiable. It stops critical tasks, like atmospheric testing or verifying isolations, from being missed because one person assumed someone else had it covered. For complex projects, weaving this permit process into the bigger picture is vital. You can get more information on this by exploring how to start managing risk in project management.
What Must Be on the Permit
A permit for a combined-risk job needs to be detailed. Vague descriptions are worse than useless; they create a false sense of security. The permit must be a practical, actionable checklist for the entire team.
It absolutely has to state:
- Identified Hazards: This isn’t just a generic list. It must detail every specific danger found in the risk assessment, from the potential for a toxic gas leak right down to the structural integrity of the access ladder.
- Required Control Measures: For every single hazard, there must be a matching control. This means things like locking out specific energy sources (LOTO), setting up mechanical ventilation, and roping off exclusion zones below the work area.
- Specific Equipment: The permit shouldn't just say "use fall protection." It needs to be specific: "a full-body harness with a self-retracting lifeline attached to a certified anchor point." Same for the gas detector, it must specify the sensors needed (e.g., O2, LEL, CO, H2S).
- Emergency Plan: This is arguably the most critical section. It lays out the step-by-step rescue procedure, naming the designated rescue team members, identifying the location of all rescue gear, and listing emergency contact numbers.
- Permit Validity: A permit isn’t a blank check. It needs a clear start time and an expiry time, typically covering a single shift. If the job runs long, the permit has to be formally revalidated, or a new one must be issued.
This image shows the kind of essential personal protective equipment (PPE) that a permit might specify for a job involving both height and confined space risks.
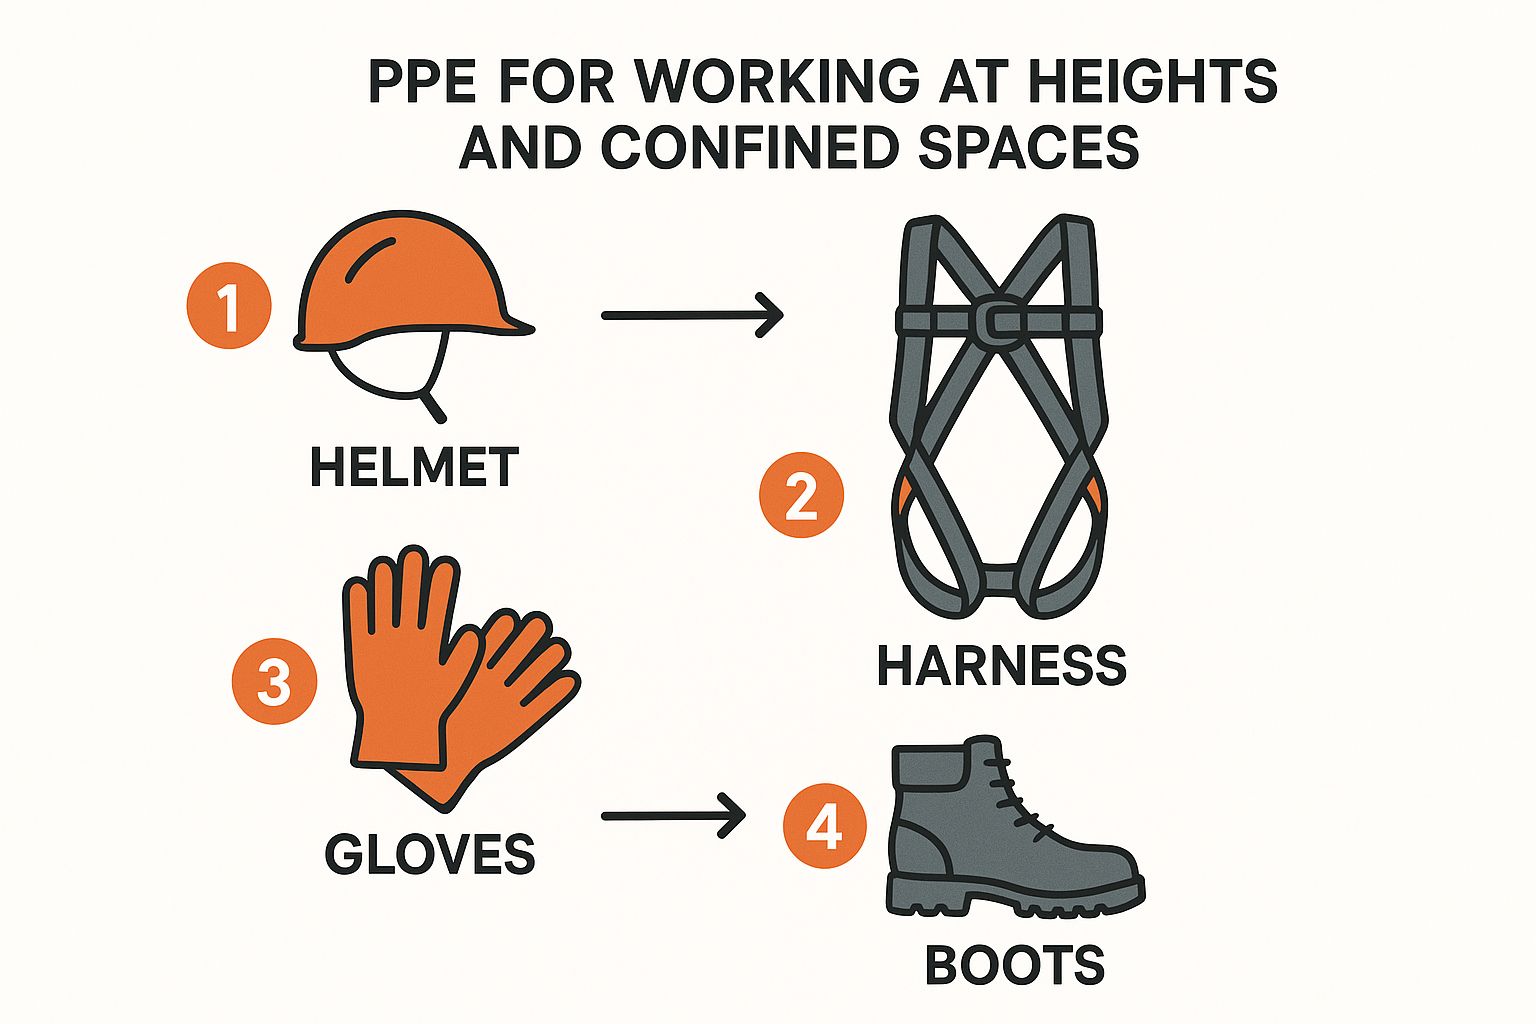
Notice how the gear has to address both sets of hazards simultaneously. For example, a harness must be suitable for fall arrest while also having retrieval points for a confined space rescue.
The Standby Person's Final Check
The true power of the permit comes to life in the hands of the standby person, moments before entry. For them, that piece of paper isn't just information, it's a final, non-negotiable checklist.
Before giving the green light for entry, the standby person must physically verify every single control listed on that permit. They will check the gas monitor readings, confirm the fall arrest system is correctly attached, test the communication gear, and ensure the rescue system is set up and ready to deploy. They are the final gatekeeper.
If even one item on that permit isn't in place, entry is denied. Period. There are no "she'll be right" moments here. This strict, disciplined adherence is what separates safe sites from disaster scenes. The permit dictates the exact conditions for safe entry, and the standby person’s job is to enforce them without compromise.
Getting Your Safety Gear Right
When you're dealing with both a confined space and working at height, your equipment is everything. This isn't just a box-ticking exercise. It’s about understanding that the gear you choose has to protect you from two completely different, and now overlapping, sets of lethal risks.
Get it wrong, and your whole safety plan falls apart. A standard height safety harness might be useless for a confined space rescue. Likewise, your ventilation fan might be the very thing that ignites a flammable atmosphere if it's not the right type. Every single piece of equipment has to be chosen with both hazards in mind.
The Critical Difference in Height Safety Gear
When it comes to working at heights, your first big decision is choosing between a fall restraint and a fall arrest system. They sound similar, but they do completely different jobs. Knowing which to use is fundamental.
A fall restraint system acts like a leash, it physically stops you from ever reaching a fall hazard. By using a a fixed-length lanyard or an adjustable line connected to a solid anchor, you simply can't get close enough to an unprotected edge to go over.
A fall arrest system, on the other hand, is your last line of defence. It's designed to safely stop you after you’ve already fallen. This is a more complex setup involving a full-body harness, a shock-absorbing lanyard or self-retracting lifeline (SRL), and an appropriate anchor point. Its entire purpose is to absorb the immense force of the fall and leave you suspended upright, ready for a swift rescue.
The choice is simple: if you can completely eliminate the fall risk with a restraint system, you do it. That's always the safest path. Fall arrest is for when the job demands you work in a position where a fall is a genuine possibility.
The stakes couldn't be higher. Falls from height remain a leading killer in Australian workplaces, accounting for 15% of all worker fatalities in 2023. The construction industry is hit hardest, making up a shocking 45% of those deaths. You can dig deeper into these figures in the latest WHS report on falls from height statistics.
Your Quick, Non-Negotiable Pre-Use Check
Before anyone gears up to work at height, they must personally inspect their own equipment. Every single time. No exceptions.
- Harness: Grab the webbing with your bare hands. Bend it into a tight 'U' shape to expose any frayed edges, tiny cuts, burn marks, or discolouration from chemical exposure. Run your fingers over all stitching, feeling for any pulled or broken threads.
- Hardware (D-Rings & Buckles): Look closely at all metal parts for any signs of cracking, rust, distortion, or sharp edges that could sever the webbing. Make sure every buckle connects with a solid click and doesn't slip under load.
- Lanyards & SRLs: Pull the entire length of the webbing or cable out, checking for the same damage you looked for on the harness. For an SRL, give the line a sharp, firm tug, you should feel the locking mechanism engage instantly. Critically, check the impact indicator to ensure it hasn't been deployed.
Gearing Up for Confined Space Entry
Once you're inside a confined space, the game changes. Now, your focus shifts to what's in the air and ensuring your gear doesn't become the ignition source for a disaster.
Imagine the job is cleaning the inside of a large fuel tank on a manufacturing site. The risks here are immense: a potentially explosive atmosphere, toxic residue, and not enough oxygen to breathe.
Your equipment list needs to be precise:
- Gas Monitor: A personal 4-gas monitor is non-negotiable. This device continuously sniffs the air for safe oxygen (O2) levels, lower explosive limits (LEL) of flammable gases, carbon monoxide (CO), and hydrogen sulfide (H2S). The air must be tested before anyone goes in, and everyone inside must wear their own monitor.
- Ventilation Equipment: Don't rely on natural airflow. You'll need a powerful, purpose-built ventilation system to pump fresh, clean air into the space and push the contaminated air out. Crucially, the fan motor must be positioned far from the entry point so it can't ignite any fumes.
- Intrinsically Safe (IS) Tools: Inside a fuel tank, any spark can be fatal. Every single electronic device, from your two-way radio to your torch, must be certified as intrinsically safe (IS). This certification means the device is engineered so that it cannot generate enough energy to ignite the surrounding atmosphere. Using a standard mobile phone or torch in this environment would be catastrophic.
- Non-Sparking Tools: It’s not just electronics that pose a risk. Any hand tool used for the job, like a scraper or a wrench, must be made from non-sparking metals like beryllium copper or aluminium bronze. A single spark from a dropped steel tool could be the last thing anyone sees.
Managing a Safe Entry and Exit
Okay, the permits are signed and the gear has passed inspection. Now the real work begins. Pulling off a job that involves both a confined space and working at heights demands disciplined coordination from every single person on the team. This is the moment all that planning pays off, from the instant of entry until the job is done and the permit is closed.
The entire operation hinges on crystal-clear communication and everyone sticking to their specific roles, no exceptions. One small deviation can bring the whole safety system crashing down.
The Standby Person's Critical Role
Think of the standby person as the lifeline for the entrant. Their focus can't be split; they have one job, and they must stay at their post for the entire duration of the work. It’s a non-negotiable part of the process.
Their duties are specific and absolutely critical:
- Maintain Constant Contact: This is usually handled with a two-way radio, which must be certified as intrinsically safe if you're dealing with a potentially flammable atmosphere. Communication needs to be regular, following a set schedule, like a check-in every five minutes.
- Monitor Conditions: They're the eyes and ears on the outside. This means keeping a close watch on gas monitor readings, looking out for any changes in the external environment that could impact the space, and listening for anything out of the ordinary.
- Control Entry: Nobody gets into that space unless they are on the permit and have explicit authorisation. The standby person is the gatekeeper, period.
- Activate the Emergency Plan: If things go wrong, they need to know exactly how to raise the alarm and who to call. They must never enter the space to attempt a rescue themselves, unless they are part of a fully equipped and designated rescue team.
Safe Procedures for the Entrant
For the worker inside the space, every movement matters. Navigating a cramped area while you're hooked into a fall protection system requires deliberate, careful action. A snagged lifeline or a clumsy misstep can quickly spiral into a dangerous situation.
The entrant has to constantly feed information back to the standby person. This means giving updates on how the task is going, confirming they are okay, and immediately flagging any changes or concerns. If they feel unwell or spot something that isn't right, they have to report it instantly. It's so important to track these "small" issues, as they often prevent a much bigger incident. To get a better handle on this, you can learn more about what constitutes a near miss and why reporting them is so vital.
I’ve seen it happen time and again: an entrant gets so focused on the task at hand they completely forget to manage their lifeline or fall arrest gear. A self-retracting lifeline (SRL) gets tangled on internal pipework, or a lanyard gets caught. This isn't just a trip hazard; it could stop the fall arrest system from working when it’s needed most.
The stark reality is that falls from height are a massive threat, particularly in high-risk industries. Between 2015 and 2019, the Australian construction industry saw 150 worker fatalities. A staggering 49 of those deaths were from falls from height, making it the leading cause of fatalities in the sector. These numbers aren't just statistics; they're a powerful reminder of why procedures are non-negotiable. You can see the full breakdown in the official Safe Work Australia report on traumatic injury fatalities.
Completing the Job and Closing the Permit
Once the work inside the confined space is done, the exit procedure has to be just as organised as the entry. The entrant must confirm with the standby person that they are starting their exit.
Here’s how to safely wrap up the job:
- Tool and Equipment Removal: Get everything out. All tools, equipment, and materials must be removed from the confined space. Leaving anything behind is just asking for trouble on the next entry.
- Final Checks: Once the entrant is safely out, a final check is needed to make sure the space is completely clear.
- Securing the Area: The entry point has to be secured. This means putting any covers or hatches back in place and fastening them to prevent anyone from getting in by accident.
- Closing the Permit: The permit needs to be formally closed out. The entrant, supervisor, and the original issuer all need to sign off, confirming the work is finished, all personnel are accounted for, and the area is back in a safe state.
This final step is crucial. Closing the permit officially ends the controlled work conditions. It gets rid of any confusion about the status of the space and draws a clear line under the job, declaring it complete.
Frequently Asked Questions
When you're dealing with the dual risks of a confined space and working at height, the same crucial questions pop up again and again. Getting straight, practical answers is the only way to make sure everyone on site knows exactly what's required to get the job done safely.
Let's cut through the noise. Here are the answers to the most common questions we hear from teams on the ground in construction and manufacturing.
What Training Is Required for This Type of Work in Australia?
For this kind of high-risk work, specific, nationally recognised training isn't just a good idea, it's mandatory. Anyone working at height needs ‘RIIWHS204E Work safely at heights’, and for entry tasks, they must hold ‘RIIWHS202E Enter and work in confined spaces’.
These aren't "one and done" tickets. They need to be kept current. Most major contractors and safety bodies will require you to refresh this training, usually every two years, to keep your skills sharp.
Critically, the training has to go beyond the classroom. It must involve hands-on, practical assessments where workers get to use the gear in realistic, simulated scenarios.
And for your supervisors? They'll need more. Anyone in a leadership or standby person role will often require units like ‘MSMPER300 Issue work permits’ and ‘RIIRIS201E Conduct local risk control’ to be able to properly sign off on and manage these tasks.
Can a Fall Arrest Harness Be Used for Confined Space Rescue?
Yes, but with a huge caveat: only if the harness is specifically designed for rescue and is part of a pre-planned rescue system. Many modern harnesses are multi-purpose and feature D-rings on the shoulders, which are put there specifically for vertical retrieval.
These shoulder attachment points are what you connect to a winch or mechanical advantage system, like a tripod, to lift a worker straight up and out. This entire setup has to be in place before anyone enters the space.
Don't ever just clip a rope to the rear (dorsal) D-ring, the one used for fall arrest, and start pulling someone out. That point is positioned to safely distribute the shock of a fall, but using it for a retrieval can cause devastating spinal and internal injuries. Your permit-to-work must spell out the exact rescue method and equipment.
Is a Standby Person Always Legally Required?
Under Australian WHS regulations, yes. A trained standby person is almost always a non-negotiable for any task classified as a confined space entry.
Their only job is to stay outside the space for the entire duration of the work. They monitor conditions, maintain constant communication with the entrants, and are ready to trigger the emergency plan at a moment's notice.
Trying to justify an entry without a standby person is incredibly difficult and almost never happens. If there are known atmospheric risks, a chance of engulfment, or any possibility of a worker getting trapped, a standby person is an absolute must. They are a cornerstone of a safe system of work.
How Often Should I Test the Air in a Confined Space?
You must test the atmosphere before anyone even considers going inside. That first test establishes a baseline reading of the conditions.
After that, how often you test depends entirely on your risk assessment.
If the work itself could change the atmosphere, think welding, which burns up oxygen and creates fumes, or using solvents that release toxic vapours, then continuous monitoring is essential. In these scenarios, the person inside must wear a personal gas monitor at all times.
If your risk assessment shows the space is stable and you have mechanical ventilation keeping the atmosphere safe, periodic checks as detailed on the permit might be enough. But you can never just assume the air will stay safe on its own.
Managing the mountain of paperwork, training records, and permits for high-risk jobs can quickly become a nightmare. Safety Space cuts through the chaos, replacing scattered spreadsheets and paper forms with one simple, all-in-one platform. It gives you real-time oversight of every job, makes compliance straightforward, and helps you spot risks before they turn into incidents. Book a free demo and H&S consultation at https://safetyspace.co to see how you can protect your people and your business.
Ready to Transform Your Safety Management?
Discover how Safety Space can help you build a safer, more compliant workplace with our comprehensive safety management platform.
Book a Free DemoRelated Topics
Safety Space Features
Explore all the AI-powered features that make Safety Space the complete workplace safety solution.
Articles & Resources
Explore our complete collection of workplace safety articles, tools, and resources.