
A Take 5 safety checklist is one of the most practical tools you can have on site. Think of it as a quick, on-the-spot risk check a worker does right before picking up the tools. It’s not about getting bogged down in long forms; it’s a fast mental and physical scan to spot immediate hazards in changing places like construction sites or manufacturing floors.
What Is a Take 5 Safety Checklist?
A Take 5 is a simple, structured way to pause and check your surroundings before you get started. It turns the old "stop and think" advice into a routine that helps catch dangers you might otherwise overlook.
It's important to be clear: this isn't a replacement for a detailed Job Safety Analysis (JSA) or a SWMS. Instead, it’s a personal, last-minute check by the person doing the work.

The process gets its name from five key actions. We've laid them out below to give you a clear picture of what to do.
The 5 Steps of a Take 5 Check
| Step | Action Required |
|---|---|
| 1. Stop and Think | Pause before you begin. What does this task involve? What tools and equipment are you using? |
| 2. Look and Identify | Scan your immediate work area. Look up, down, and all around. Are there any obvious hazards? |
| 3. Assess the Risks | For each hazard you've identified, think about what could realistically go wrong and how serious it could be. |
| 4. Control the Hazards | Take practical steps to remove or reduce the risks. This could be as simple as moving a trip hazard. |
| 5. Monitor your Work | As you work, keep an eye out for any new hazards that might appear. Conditions can change quickly. |
These steps create a quick but effective safety loop, giving the worker on the tools control over their immediate environment.
Why This Quick Check Matters
The need for these immediate, pre-task checks is clear. Workplace safety in Australia is an ongoing issue. Early in one recent year, 32 Australian workers had already died on the job, following a tragic toll of 168 fatalities the previous year.
These aren't just numbers; they represent the constant risks people face every day. They show exactly why practical, on-the-ground safety steps are so important.
A Take 5 isn't about more bureaucracy. It’s a useful tool that shifts hazard awareness from a once-a-month meeting to an every-task habit. It connects the formal safety plan to the reality of the work being done right now.
To get the big picture, it helps to understand how these fit in with foundational risk assessment checklists that support a strong safety system. The Take 5 is a specific version of that concept, designed for speed and immediate use by the person actually doing the work. It makes every worker an active participant in keeping themselves and their mates safe.
How to Run a Take 5 Check in the Real World
Thinking about safety in general terms is one thing; putting it into practice on a busy, noisy worksite is something else. The real value of a Take 5 safety checklist comes from applying it to an everyday task.
Let’s walk through a common scenario to see how it works: setting up to cut a piece of timber with a circular saw in a workshop.
Stop and Think
Before you plug in the saw, just pause for a moment. This is the "Stop" part of the process. Ask yourself a few basic questions about the job you're about to do.
What am I trying to do? What tool am I using? Do I have the right blade for this material?
This isn’t about a long, drawn-out analysis. It’s a quick mental reset to focus your attention on the task at hand, blocking out the other distractions happening around you on site.
Look and Identify
Now, it’s time to scan your immediate work area. Look up, down, and all around you. What do you see? In our circular saw example, this means actively checking for things like:
- Trip hazards: Are there power cords, timber offcuts, or other tools lying on the floor right where you need to stand or walk?
- Material stability: Is that piece of timber properly supported on sawhorses or a workbench, or is it just balanced in a risky way?
- Equipment condition: Give the saw a quick once-over. Is the power cord free of nicks or damage? Is the safety guard moving freely and working correctly?
This is where a quick visual scan can save you a lot of trouble.
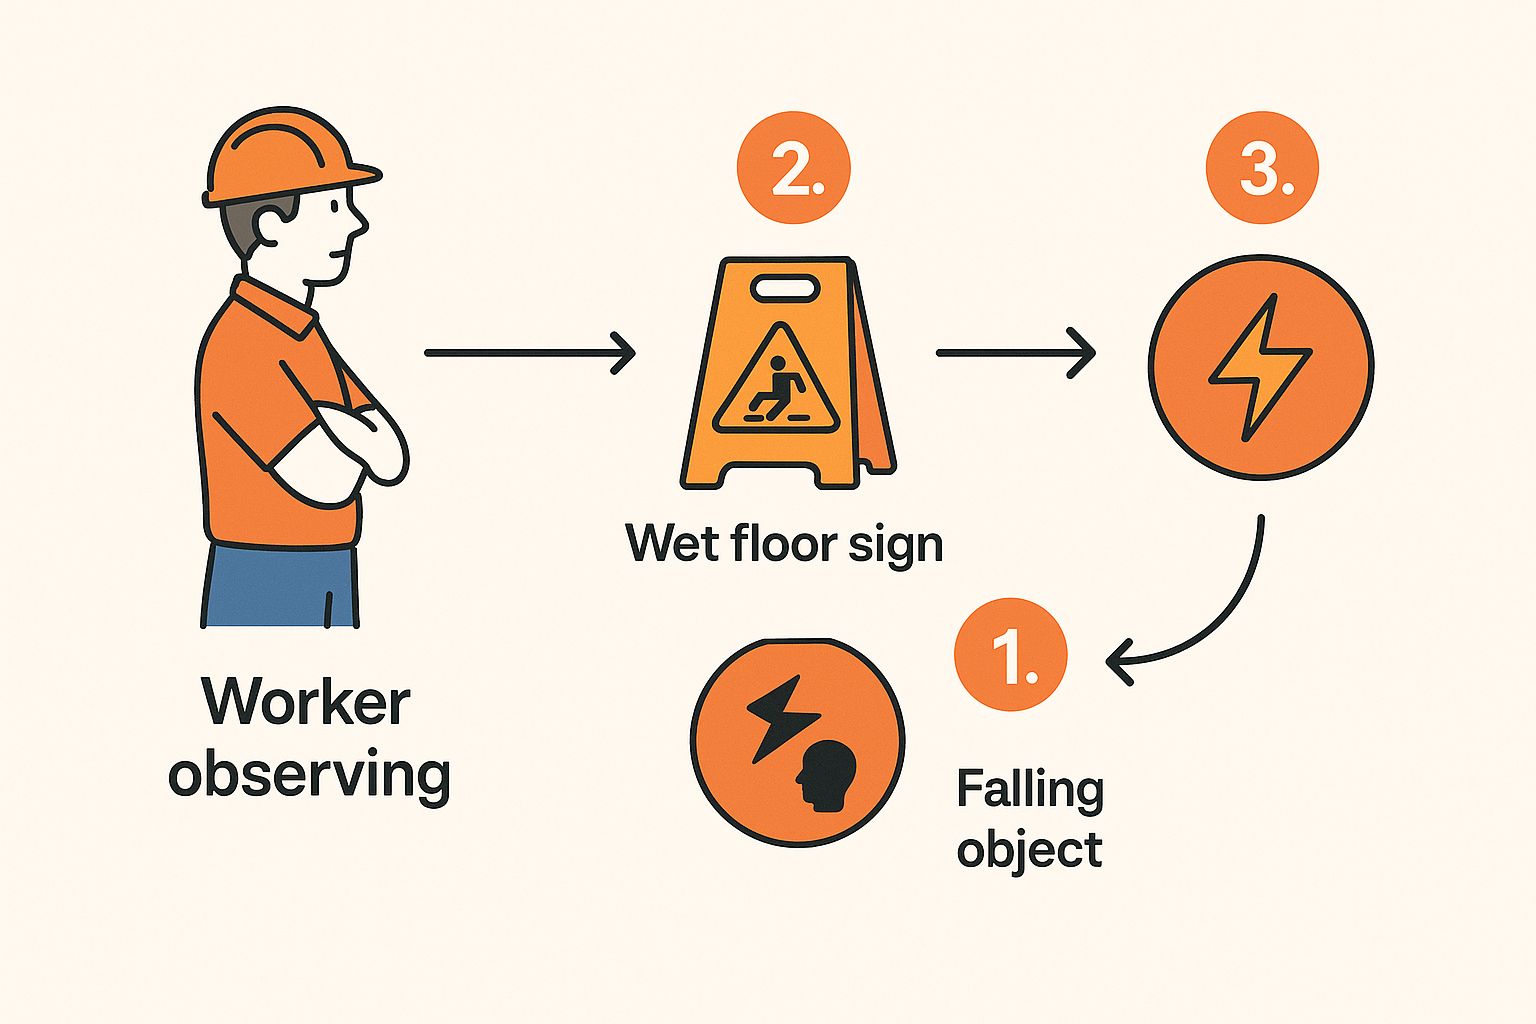
Being able to spot potential issues like spills, electrical faults, or even objects that could fall from above is the core of this step.
Assess the Risk
Once you’ve spotted a potential hazard, you need to quickly assess it. Just ask yourself, "If something goes wrong here, how bad could it be?" A loose power cord on the floor might just be a simple trip hazard, which could be minor. But if that same cord is frayed and showing wires, it suddenly becomes a serious electrical risk.
It's the same with the timber. An unstable piece might just slip, ruining your cut. That's annoying. Or, it could cause the saw to violently kick back, a far more dangerous outcome. You’re simply weighing the potential consequences in your head.
Control and Monitor
This is the action step. It’s where you do something about the risks you’ve found. Based on your quick assessment, you put simple controls in place.
- Move that loose power cord completely out of your walking path.
- Secure the timber firmly with a couple of clamps so it has zero chance of moving.
- Put on your safety glasses and hearing protection before you power up the saw.
The control step is about taking direct, immediate action to fix the problems you just identified. It’s the difference between seeing a risk and actually preventing it from causing harm.
Once you start the cut, you need to monitor the situation. Does the timber start to shift despite the clamps? Does the saw suddenly sound different or start to struggle? Staying aware as you work is the final piece of the puzzle, making sure new, unexpected hazards don't catch you off guard.
This process of identifying and controlling risks is a key part of many structured safety checks. For instance, you see a similar logic in a 5-step plan for checking indoor air quality, where the goal is to systematically create a healthy environment.
Common Hazards a Take 5 Will Help You Spot
A Take 5 safety checklist is great for catching those everyday hazards that are easy to miss when you're focused on getting the job done. These quick checks pull your attention back to your immediate surroundings, helping you find risks on busy construction and manufacturing sites before they cause an injury.

This simple process is vital, especially in high-risk sectors. The construction industry in Australia consistently ranks as one of the most hazardous, recording the second-highest number of workplace fatalities. It also has the second-highest count of serious injury compensation claims, a statistic that shows the real-world value of these pre-task checks.
Environmental and Equipment Hazards
Your immediate surroundings can change quickly. A Take 5 helps you spot environmental issues that might not have been there an hour ago.
Think about things like:
- Slips, Trips, and Falls: Are there trailing leads across a walkway? Wet surfaces from a recent clean-up? Discarded materials where they shouldn't be?
- Poor Lighting: Maybe a bulb has blown in a key work area, or you're about to start a job in a deep shadow. Poor visibility can hide many other dangers.
- Damaged Equipment: Give your gear a quick once-over. Check for frayed cords, cracked casings on power tools, or missing safety guards on machinery.
The Take 5 checklist is very useful for flagging immediate dangers, from common electrical hazards and unsecured materials to blocked access points.
Task-Related Hazards
Some risks are tied directly to the job you're about to do. That five-minute check forces you to stop and consider the physical actions involved and any dangers that come with them. This could be anything from awkward lifting positions that might cause a strain to the simple fact you'll be working near moving vehicles.
A Take 5 isn’t just about looking for obvious problems like a chemical spill. It’s also about recognizing subtle risks, like the strain of repetitive movements or the danger of working with your back to a busy forklift route.
These quick checks are a basic part of a wider risk management process. To get a better handle on the first piece of that puzzle, take a look at our detailed guide on what is hazard identification. After all, you can't control a risk until you've properly spotted it.
Adapting the Checklist for Your Worksite
A generic Take 5 safety checklist is a solid starting point, but its real value comes from customisation. Every worksite is different, so your checklist must reflect the specific hazards your team actually faces day-to-day.
A standard template won't ask a roofer about fall arrest systems or a factory worker about specific machine lockouts. That’s where you come in.
Making these changes isn't complicated. It's about adding prompts that are directly relevant to your work. A metal fabrication workshop, for instance, might add a specific question about ventilation for welding fumes. A construction crew on a high-rise could add a check for securing loose materials against high winds. Simple, practical, and effective.
Making the Checklist Relevant
So, how do you know what to add? Supervisors can guide the process by asking a few simple questions:
- What are the most common near misses we see on this job?
- Have we introduced any new tools, chemicals, or materials recently?
- What hazards are unique to this particular location or task?
Answering these questions helps you build a much more useful and effective Take 5. The goal is to make the form a practical tool that gets people thinking, not just a box-ticking exercise they rush through. Our guide to a workplace inspections checklist can spark more ideas for site-specific items to include.
Customising your checklist turns it from a generic safety document into a direct risk assessment tool that addresses the real-world dangers your team encounters.
It’s easy to dismiss this as just more paperwork, but the numbers tell a different story. Hundreds of Australian workers die from work-related injuries each year, with over 139,000 suffering serious injuries.
These figures show why routine, relevant risk assessments are so important. As national safety campaigns often emphasize, stopping to identify hazards before starting a task is a vital step in preventing incidents. For more details on this national focus, you can discover more insights about workplace safety initiatives here.
Turning the Take 5 Into a Daily Habit
The biggest hurdle with any safety tool isn't learning how to use it, it’s actually remembering to use it every single time.
Making the Take 5 safety checklist a normal part of the daily routine requires a practical approach, one that fits into the rhythm of a busy workday without feeling like just another box to tick.
So, how do you make it stick?
Simple Ways to Weave It Into Your Day
One of the best things you can do is have supervisors lead by example. When the crew sees their manager or foreman completing a Take 5 before starting a task, it sends a strong message. It shows this isn't just another piece of paper from the office; it's how the job gets done right.
Making it a talking point during pre-start meetings is another great way to keep it front of mind. You could quickly review a "good catch" someone flagged on their checklist yesterday or just remind everyone where to find the forms or the app.
Accessibility is everything. If paper pads are tucked away in a site office or the digital version is buried in a clunky app, people just won't bother. Keep them where the work happens.
But what about when you're under pressure? It's tempting to skip the check when a deadline is close.
That's when you have to remember: the two minutes you spend on a Take 5 can save you hours or even days of downtime from a preventable incident. It's an investment, not a delay.
This is where going digital can be a game-changer. Using dedicated workplace safety apps on a phone or tablet makes the whole process faster and cleaner. It’s a lot more convenient than trying to find a pen and a dry spot for a paper form, especially out on site.
Your Take 5 Safety Checklist Questions, Answered
Got a few questions about the Take 5 safety checklist? You're not alone. Let's clear up some of the most common ones with some straightforward, practical answers.
How Long Should a Take 5 Check Really Take?
While it’s called a ‘Take 5’, the name is more about the principle than a strict stopwatch. The actual time you spend depends entirely on the task at hand and the environment you're in.
For a simple, routine job you do every day, the check might only take a minute or two. You know the drill, you know the risks. But for something more complex, or if you're working in a new location, you'll naturally need more time to think things through properly.
The real focus is on being thorough, not on being fast.
Do I Have to Fill Out a Form Every Single Time?
This comes down to your company’s rules and the specific job. For those repetitive, low-risk tasks where conditions rarely change, a quick mental check is often all you need. It becomes second nature.
However, if you're starting a new task, tackling high-risk work, or when conditions have changed (like after a storm or a site modification), documenting the check is always a smart move. A physical or digital record shows you’ve done your due diligence and properly considered the risks before starting.
The core idea is simple: a quick, personal check done by the worker right before the task begins. It’s your last chance to spot a problem before you’re in the middle of it.
How Is a Take 5 Different From a JSA?
It’s easy to mix these up, but they play very different roles in keeping a site safe.
A Take 5 is your fast, informal check done on the spot, right before you start. It's personal to you and the immediate task.
A Job Safety Analysis (JSA) or a Safe Work Method Statement (SWMS), on the other hand, is a much more formal and detailed document. It's usually prepared ahead of time by a supervisor or safety manager, specifically for high-risk jobs, and it covers the entire process in depth.
Think of the Take 5 as your personal pre-flight check, while the JSA is the full flight plan.
Ready to stop juggling paper forms and spreadsheets? Safety Space offers a fully customisable, all-in-one platform to simplify your entire safety management system. Book your free demo today and see how you can protect your people and your business more effectively. Find out more at https://safetyspace.co.
Ready to Transform Your Safety Management?
Discover how Safety Space can help you build a safer, more compliant workplace with our comprehensive safety management platform.
Book a Free DemoRelated Topics
Safety Space Features
Explore all the AI-powered features that make Safety Space the complete workplace safety solution.
Articles & Resources
Explore our complete collection of workplace safety articles, tools, and resources.