A permit lands on the site office desk with "electrical maintenance" in the scope box, "power off" ticked, and two signatures at the bottom. Nobody can say which circuit was isolated, which board it came from, who tested it or when. That document isn't evidence of anything except that two people were in the same room.
The fix isn't a longer form. It's deciding what the permit has to prove, then building fields that produce that proof. An electrical work permit template earns its keep when it records isolation source by source, ties every test result to a named person and a timestamp, and controls the hand-back. Signature sheets don't do that. Verification records do.
Table of Contents
- Core Fields Every Permit Must Capture
- Checking Solar, Battery and Backup Supplies
- How to Complete the Isolation Sequence
- How the Permit Differs From SWMS and Licences
- Running the Permit Across Handover and Close-Out
- Check the Permit Before Anyone Starts Work
Core Fields Every Permit Must Capture
Most permit failures show up as a blank or generic entry, not a wrong answer. Safe Work Australia's electrical work guidance treats the permit as a documented control inside a wider risk-management system rather than a standalone approval form, with the duty sitting on the person conducting a business or undertaking (PCBU). Two things follow. The work goes to a licensed or registered electrician, and energised work needs a competent person using suitable tools, testing equipment and personal protective equipment. Regulation 161 in the model regulations adds the safety observer where the controls call for one.
Fill the permit in the order the job runs: the work, the electrical state, the isolation, the proof, the people, the controls, then the times.
| Field group | What to enter | Why it matters |
|---|---|---|
| Work scope and location | Exact task, site, building or area | Stops the permit covering work it never described |
| Equipment or circuit | Asset, board, circuit or tag reference | Shows what is isolated, not just that power is off |
| Electrical state | Energised or de-energised, with the reason | Sets whether SWMS and energised-work controls apply |
| Isolation points | Each point with lock and tag numbers | Lets a second person check every point |
| Verification | Tester, instrument, result and time | Turns a claim of dead into evidence |
| Worker competency | Licence or registration and competency evidence | Confirms the worker may do the work |
| People and roles | Issuer, receiver, affected persons, safety observer | Makes accountability traceable |
| Controls | PPE, testing requirements, emergency arrangements | Captures the controls that apply on the day |
| Linked documents | SWMS or JSA reference and worker sign-on | Ties the authorisation to the risk assessment |
| Timing | Date, planned start and finish | Sets the window the permit covers |
| Handover and suspension | Shift handover, suspension reason, resumption approval | Keeps controls current through the job |
| Close-out and re-energisation | Work complete, tags removed, re-energisation approval | Stops equipment being re-energised early |
A blank in the equipment row means nobody knows which circuit will be worked on. A blank in the verification row means "power off" is an opinion. A blank in the people row means the permit has no owner.
Approval rule: a permit with a blank field in any group isn't approved pending information. It's not approved.
Where the job involves an EV wallbox, check the specified hardware before writing the isolation steps, because socketed and tethered units meet the installation differently. EVChargers.eu's untethered wallbox picks is a useful reference for what clients are specifying.
Checking Solar, Battery and Backup Supplies
A mains-only tick box is the most common defect in permits used on commercial and residential sites. Safe Work Australia's guide to managing the risks of rooftop solar installation work advises that maintenance on solar panels should consider physically isolating all sources of energisation, including batteries, inverters and mains power, to prevent backfeeding to the switchboard. The same guide states that electrical work must only be performed by licensed or registered electrical workers.
| Energy source | What to isolate | Evidence to record |
|---|---|---|
| Mains supply | Main switch or isolator at the board | Lock and tag number, tester, test result and time |
| Rooftop solar array | DC isolators and array status, since daylight keeps the array live | Isolator ID, array status and test result |
| Inverter | Inverter isolation point | Isolator ID and confirmation it is off |
| Battery storage | Battery disconnect and stored-energy controls | Disconnect ID and confirmation of stored-energy controls |
| Standby or backup generator | Generator shut down and changeover isolated | Generator status, changeover position and lock number |
| Auxiliary supply from another board | Circuit identified at the source board | Board and circuit reference, lock number and test result |
The permit should also name the work type. Installation, testing, maintenance and fault-finding carry different control steps, and treating "solar off" as equal to a fully de-energised system leaves conductors live from daylight generation or battery supply.
Where Lines Set the Boundary
Overhead and underground lines are governed by zones, not by the permit. Safe Work Australia's guidance on overhead and underground electric lines sets three. Zone C is a no-go zone where electricity-supply-authority approval is required. Zone B is restricted to authorised persons trained in overhead-line hazards. The surrounding work area still needs a written safe system of work based on a risk assessment, and a safe work method statement applies to energised electrical work and high-risk construction work on or near energised installations.
An electrical work permit does not replace electricity-supply-authority approval where the zone requires it. Record the zone and the approval reference on the permit, or the permit is silent on the one control the regulator will ask about first.
How to Complete the Isolation Sequence
Run the sequence in this order and record each step as it happens. The recording is the control. An isolation nobody can trace is an isolation nobody can check.
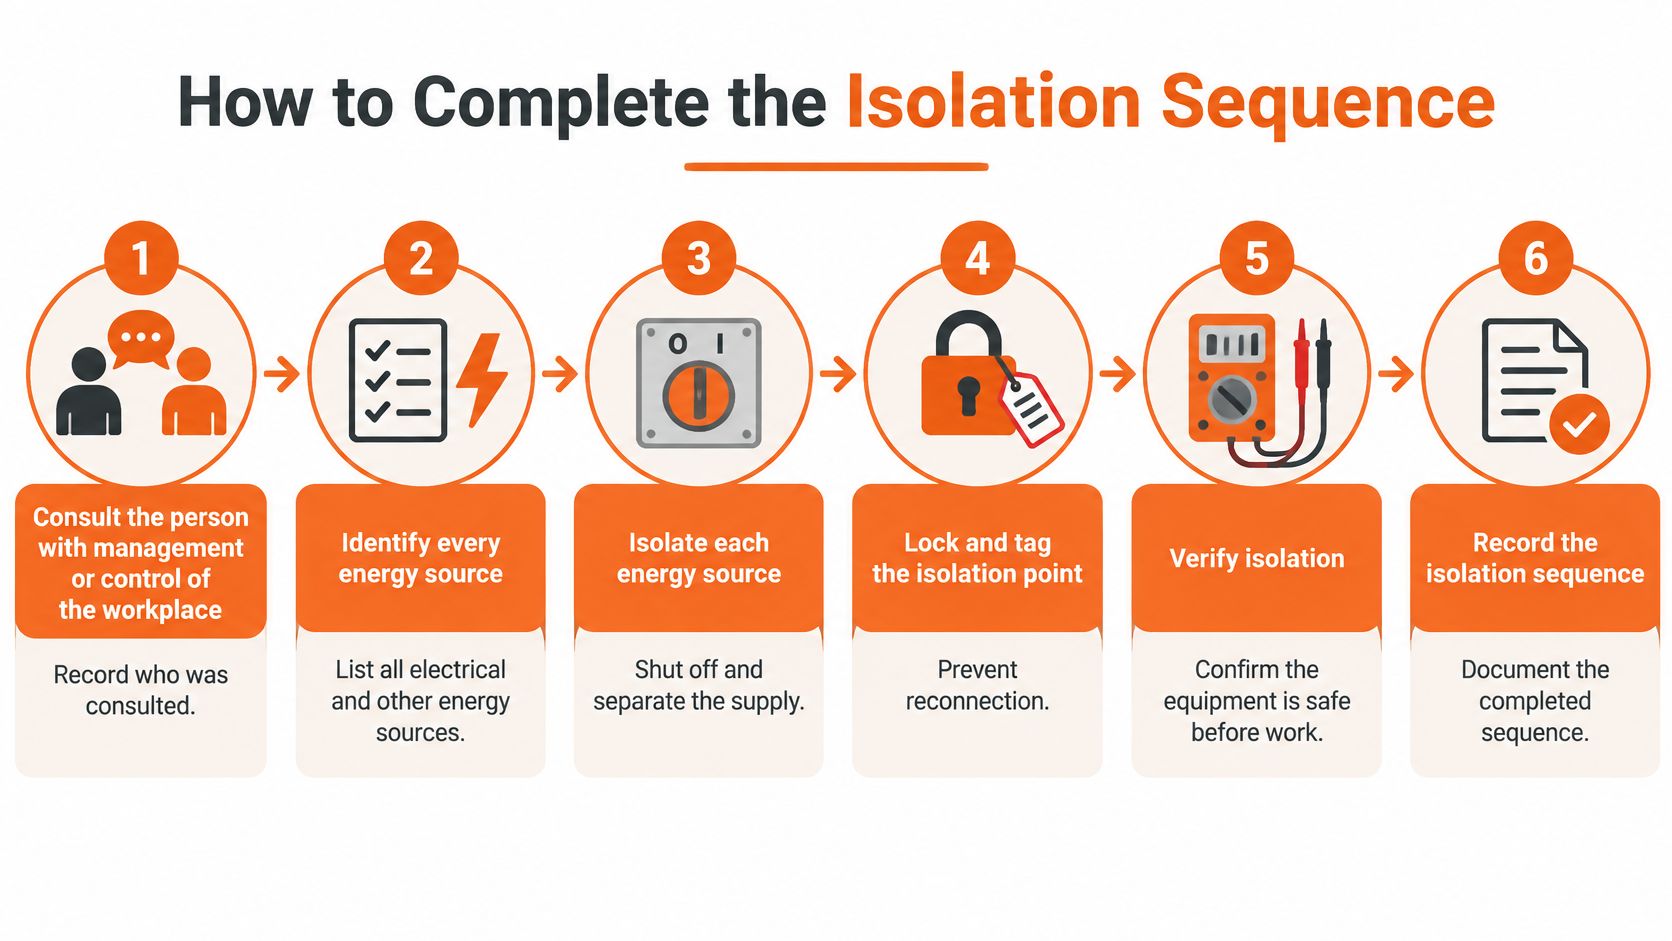
- Consult and record. Speak to the person with management or control of the workplace before anything is switched, and note their name and the time. Without that conversation, the rest of the sequence rests on an assumption about what else is running on the site.
- List every energy source in scope. Standby generators, photovoltaic arrays, battery systems and supplies fed in from another board all count. Work through the energy-source table in the previous section here rather than from memory at the switchboard.
- Disconnect the active conductors at each isolation point. Not just the breaker that appeared to control the circuit. Record each point identifier as it is opened, because close-out depends on matching opened points with restored ones.
- Lock and tag. Lock the isolation points where practicable, then attach danger tags, recording the lock number and tag number against each point. The person who fits the lock keeps the key.
- Test and record. Prove each relevant circuit is de-energised, then write down the tester's name, the instrument used, the result and the time. Safe Work Australia's model code of practice for managing electrical risks expects testing for dead to be carried out as appropriate for the duration of the work, not only at the start.
- Confirm all sources checked. One deliberate tick box. A single upstream breaker isn't proof of isolation when a generator changeover or an inverter can put voltage back on the conductors.
- Change the conditions for energised work. The model WHS Regulations require a completed risk assessment, easy access and exit from the work area, and an isolation point that is clearly marked, unobstructed and able to be operated quickly. The person authorising the work also consults the person with management or control of the workplace. A permit that skips these is a permission slip.
- Close out with authority. Record who authorised re-energisation, confirm every lock and tag came off with the person who fitted it, and sign the close-out. At this stage, equipment goes live while someone is still working inside a switchboard.
A test result without a name and a time is a rumour.
Fault-finding jobs need the same discipline, even though the sequence starts before the fault is found. Forge Reliability's electrical troubleshooting guide for plant managers sets out a structured detection approach, and the isolation record still sits behind it. The sequence only holds when everyone fits locks and tags the same way, which is what lock out tag out training is built around.
What the Record Looks Like the Next Day
Someone who wasn't on site should be able to open the permit and trace every point, every tag and every test result to a named person. If that trace stops anywhere, the isolation wasn't controlled, it was assumed.
How the Permit Differs From SWMS and Licences
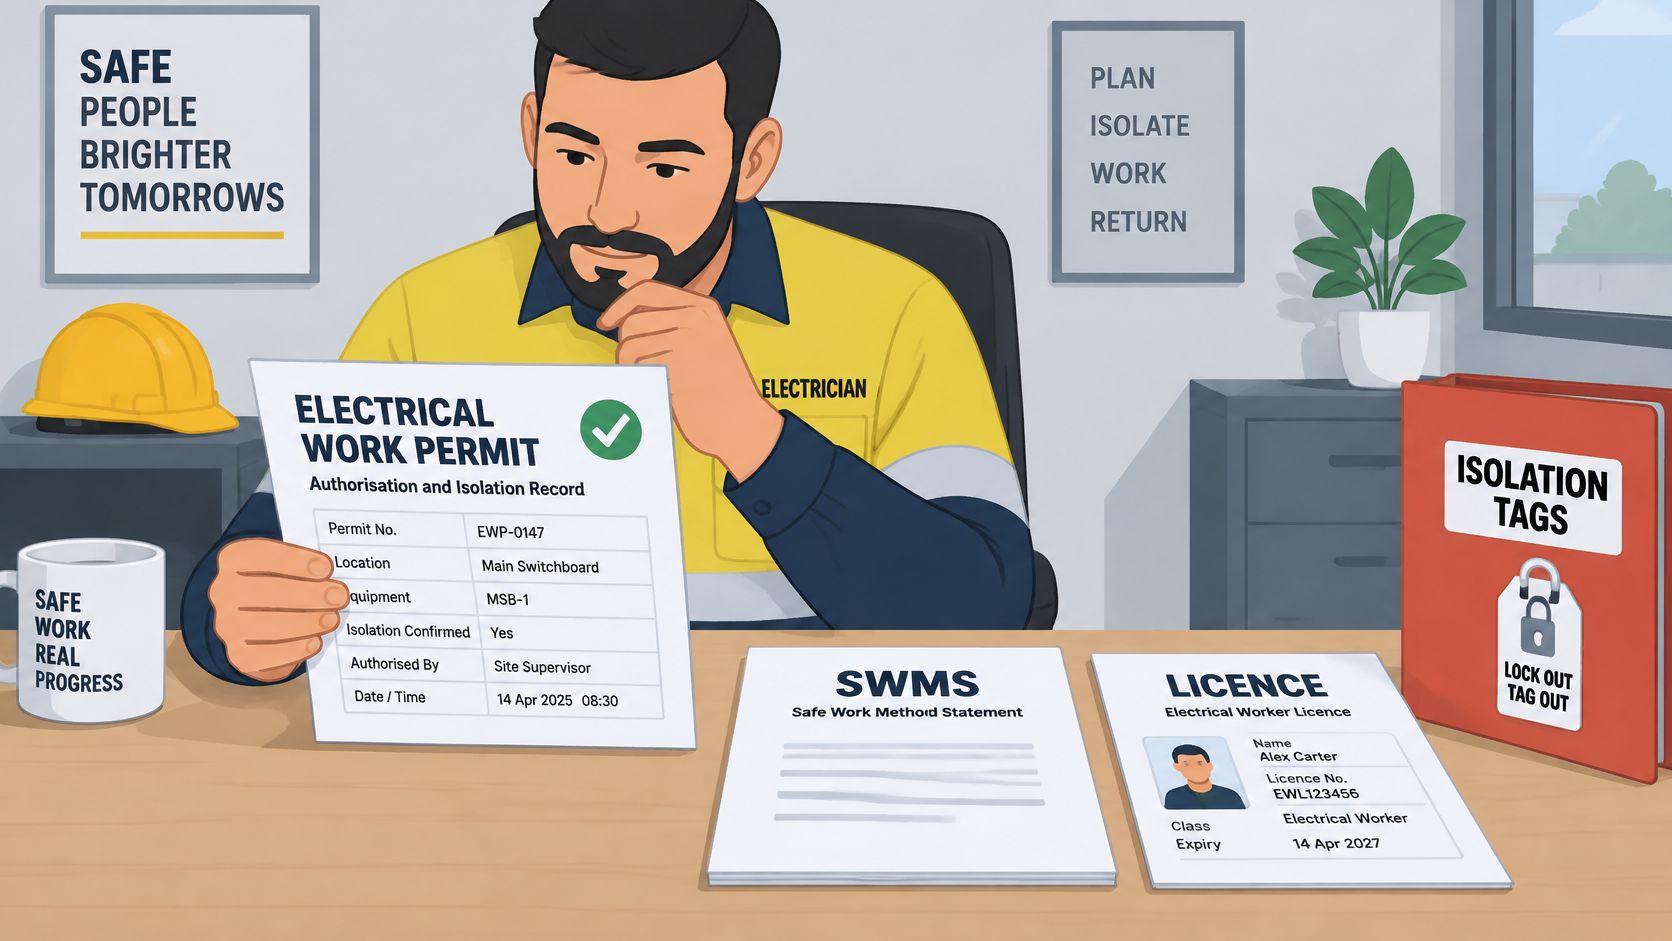
The permit proves one narrow thing: for this job, at this time, the named energy sources were isolated, tested and handed back under a named authority. On site that gets blurred with other records, and the blur costs time at the worst moment. Each document proves something different, so a folder full of signatures can still leave the isolation unverified.
| Document | What it proves | When it applies |
|---|---|---|
| Electrical work permit | Authorisation, isolation and verification for one defined job and time window | Every job the template covers |
| Safe Work Method Statement (SWMS) | Hazards, controls and worker sign-on for the task | Energised work and high-risk work on or near energised installations |
| Electrical licence or registration | The worker is licensed or registered for the electrical work | All electrical work, carried out by licensed or registered workers, plus any state licence or permit where the state requires it |
| Isolation or lock-out record | Each source is isolated, tagged and tested | Before any isolated work starts |
| JSA | Task-level risks and controls | Lower-risk tasks the business assesses with a JSA |
The difference shows up on sites fed by more than mains. A SWMS can identify solar arrays, battery systems and generators as hazards and set controls, while the permit records each source isolated, tagged, tested and tied to the person who did it. A template with a single "main switch" field treats three supplies as one and gives close-out nothing to check.
The word "permit" also shifts by jurisdiction. In some places it names a licensing or supervised-work authority, elsewhere the job-level authorisation this template records. A template used across state lines needs a jurisdiction field because required fields and terminology differ. Safety Space covers the harmonised Work Health and Safety Act 2011 as implemented across most Australian states and territories, including variations in Victoria and Western Australia, so location-specific fields can differ.
New Zealand readers work under the Health and Safety at Work Act 2015 and WorkSafe NZ guidance. Australian licence and permit fields don't transfer automatically, so check local requirements before adopting this structure.
Running the Permit Across Handover and Close-Out
A signature at the bottom of a permit is weak evidence on its own, as the South Australian building and construction electrical guidance implies in its emphasis on traceable verification and controlled hand-back. The value sits in the state changes, not the initial approval. Run five states, and make every change carry a named person, a time and a reason.
- Issued. The permit is approved for a defined window with the isolation evidence attached.
- Handover. A shift change or a change of worker. The incoming person confirms the isolation is still in place before signing on.
- Suspended. Conditions changed: a new energy source appeared, the work zone moved, or the competent person left the job. The permit stops.
- Resumed. A fresh approval from the person controlling the workplace. Not a carried-over signature from the morning.
- Closed. Work complete, locks and tags removed by the people who fitted them, re-energisation authorised and signed.
Set the permit to expire at the end of the shift so it lapses unless someone renews it deliberately. A permit that stays open overnight because nobody closed it is an open authorisation on equipment nobody is watching.
Hand-back test: if the person who fitted the lock can't be named at close-out, the permit isn't closed.
Attach the evidence, not just the approval: test results, photos of tags at the isolation point, and timestamps for each approval. Where the permit runs in software, Safety Space is one platform to check against the field list in the first section, because approvals, timestamps and attachments sit against the job record rather than in a folder.
Close-out also feeds the next job on the same equipment. When a board is signed back into service and later commissioned, the evidence trail needs to hand over cleanly, and Axis Meter Solutions' explanation of electrical commissioning covers what that stage involves.
Run the whole workflow on a training job first. Gaps show up on a low-risk task far more cheaply than on a live board.
Check the Permit Before Anyone Starts Work
Approval is the last step of a permit, not the first. A signature at the bottom only means someone signed; the nine checks below are what the signature is meant to stand behind. Work through them in order and don't accept a verbal answer for any of them.
- The job is named. The description identifies the exact equipment or circuit, not a general label like electrical maintenance.
- Every source is listed. Mains, solar array, inverter, battery, generator and any auxiliary supply from another board. A mains-only template fails here, because isolating the switchboard still leaves the array and battery able to feed the inverter.
- Every isolation point is accounted for. Each one carries a lock number, a tag number and a named isolator.
- The test evidence is complete. Tester, instrument, result and time, recorded against each point.
- Competency is attached and current. The licence or registration for each worker doing the electrical work.
- The SWMS or JSA is referenced. And the workers have signed on to it.
- Controls are confirmed. Emergency arrangements, PPE and any safety observer named on the permit.
- Line work has its zone recorded. The zone, the access rule and any electricity supply authority approval.
- The times are set. Start, planned finish, handover points and the close-out authority.
Stop rule: if any item is blank or can't be verified, the work doesn't start and the permit goes back to the issuer. No exceptions for a short job or a shutdown window.
One check sits outside the permit itself: the SWMS or JSA it references. A permit can't stand in for that document, so review it before approving rather than assuming the reference is sound. The permit to work audit checklist is a practical way to test a sample of closed permits against these nine points and see where the blanks cluster. If the gaps point to document control rather than form design, a free health and safety consultation can be booked to work through the fix.
Safety Space runs permits to work with approvals, alongside SWMS with worker sign-on and training registers that send reminders before a licence or competency expires. Records are kept by site or project, so the isolation trail for a board is still there at close-out and at the next job on the same equipment. Visit Safety Space to see how the permit workflow fits your sites.
Ready to Transform Your Safety Management?
Discover how Safety Space can help you implement the strategies discussed in this article.
Explore Safety Space FeaturesRelated Topics
Safety Space Features
Explore all the AI-powered features that make Safety Space the complete workplace safety solution.
Articles & Resources
Explore our complete collection of workplace safety articles, tools, and resources.